


Actually I do not see this covered so often, but I think it is important to think about what type of color space you prefer. First of all because your images will look quite different dependending on what you choose, and secondly because the colors can be differently converted when using softwares such as photoshop. It is further nice to be aware of this to create figures that are consistent with each other.
There are three options for the color space in pyMol: RGB (default), CMYK (for publications) and pymol (for video & web). Personally I prefer the CMYK color space which forces PyMOL to restrict its use of the RGB color space to a subset that can be reliably converted to CMYK using common tools such as Adobe Photoshop. Here follow some examples:
PyMol> space rgb

PyMol> space cmyk
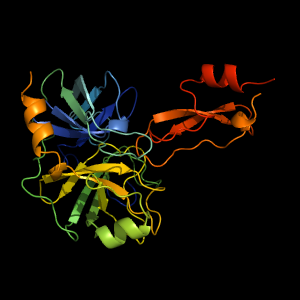
PyMol> space pymol
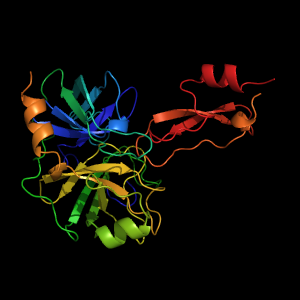
As you can see, the colors that are (at least visually) the most affected by these settings are green, blue and yellow. Actually, when doing more detailed images, these effects become quite visible. So if you ever find yourself in a situation wondering why you can not get the same color on a figure as before, try changing the color space.
Changing the background color is very basic, and in many cases this is something you want to do as black is not always the best choice for articles etc. To change the background color to white for example, simply type:
PyMol> bg_color white
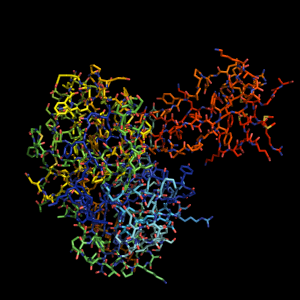
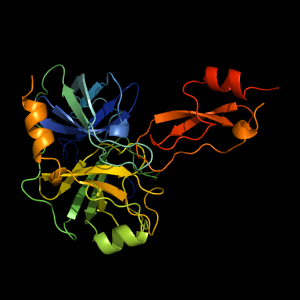
Now, representing molecular structures is what pyMol is all about. Here follows a list of commands for the most basic representations with example images. There are of course more technical and interesting ways of representing molecules, and I will cover this in another tutorial.
Lines
PyMol> show lines, all

Sticks
PyMol> show sticks, all
Ribbon
PyMol> show ribbon, all

Cartoon
PyMol> show cartoon, all
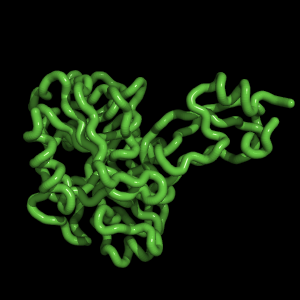
Sausage view
PyMol> show cartoon, all
PyMol> cartoon putty
PyMol> unset cartoon_smooth_loops
PyMol> unset cartoon_flat_sheets

Dots
PyMol> show dots, all

Wire
PyMol> show wire, all
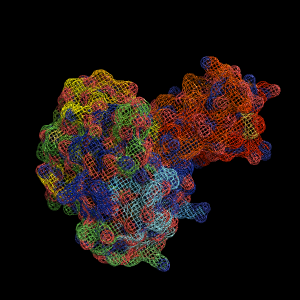
Spheres
PyMol> show spheres, all
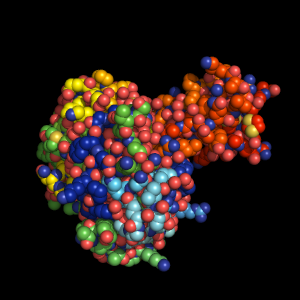
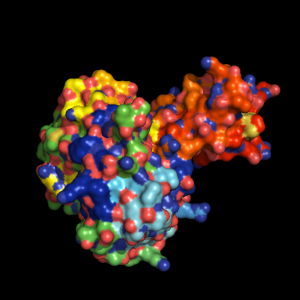
Surface
PyMol> show surface, all
Changing the object color is easily done through the 'color' command followed by the name of a color or the color code. For example, to color an object green, type:
PyMol> color green, objectName
Maybe a bit more interesting is the possibility to color based on the secondary structure. You access the secondary structure elements throught the 'ss' keyword followed by 'h', 's' or 'l+' for helix, sheet and loop, respectively.
PyMol> color gray, ss l+
PyMol> color red, ss h
PyMol> color sand, ss s
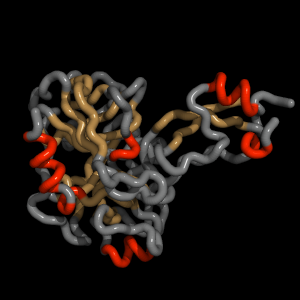
Being able to select atoms, residues, chains and entire objects is by all means one of the most important features of pyMol. With selctions you can for example add a unique color to each residue:
PyMol> color "color", i. "residueNumber"
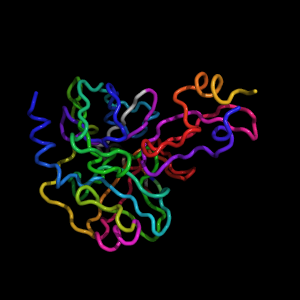
Here is a list of examples using different selectors:
PyMol> show surface, obj01
PyMol> color red, i. 21
PyMol> color red, resi 21-42
PyMol> show cartoon, chain B
PyMol> show spheres, id 2472
PyMol>show spheres, name CA
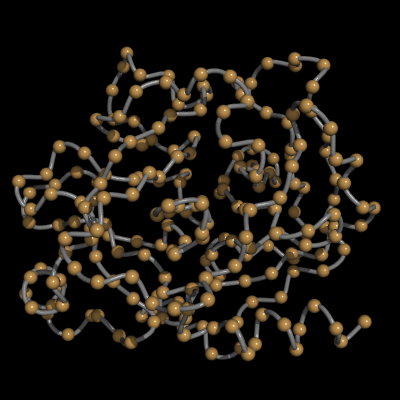
Using 'or' and 'and' enables you to do more flexible selctions. Here it is important to understand the difference between the two. Using 'a and b' for example means that both 'a' and 'b' need to be true for the selection to work. Specifying
PyMol> show spheres, name C and name CB
will never work because 'C' and 'CB' are different atoms, and can not be the same. However, specifyingPyMol> show spheres, name C or name CB
will successfully display spheres on both 'C' and 'CB'. Another example:PyMol> show spheres, i. 21-90 and name CA
This will display spheres on all CA atoms for residues 21 to 90.